New Toddler Quilt- Tessilating Butterflies Done!
Tessilating Butterfly Quilt
 |
| Tessilating Butterfly quilt is done plus matching pillowcase, both kitty approved! |
I finished quilting and binding the butterfly quilt for my little grand daughter this week! Am so excited with the finished product! Yay! I used free motion machine quilting to complete it.
 |
| Pillowcase made from leftover quilt fabric |
Before starting the quilting, I measure the quilt again and realized that it was almost 5 inches shorter than the race cars quilt top that I was making for her twin brother. The butterfly quilt was already pinned together with the batting and backing, so what to do?
I checked the leftover fabric and there was next to nothing left…. I had used most of it up making the matching pillowcase.

I carefully unpinned the outer borders at both ends, took them off with my faithful seam ripper and added the extra strips. Then I added the outer borders back onto both ends of the quilt, along with an extra piece at each corner. Talk about having just enough fabric!
It now measured 45 inches X 57inches!
The light pink Minkee fleece on the back was much easier to work with than I remembered.
IT's always a good idea to look at your quilt top and think about what kind of quilting design would compliment it. Don't rush into it, (like I sometimes seem to do.)
At first I kept it simple: I ditch quilted right down the centre of the quilt between the rows of blocks. Then sewing from alternating sides, I ditch quilted all the way to both ends. The minkee fleece on the back was still sitting nice and straight. Yay! Then I quilted it the same way vertically.

Next I did a free motion butterfly pattern inside each block, on top of the tessillating butterfly, connecting each block in the row. Remember to take breaks and check the back of your work to make sure the tension remains good. Nothing more frustrating than working away diligently, and realizing afterwards that it looks really bad on the back. My bobbin has a habit of jumping the thread out of the groove, wreaking havoc with the tension. Then you have a half hour or more of "undo" work….
 |
| 12 appliqued fussy cut butterflies |

After that I ditch quilted all around the pink inner border. At both ends of the quilt, the pink border was wider (see above) so I free motion quilted some of my easy signature butterflies there.
Now what to do for the outer colourful butterfly border, I thought. I decided to keep it simple and just do an easy free motion meander stitch. I even love how the back turned out! :D
Last step: binding. Oh, oh, what could I use? I was pretty much out of fabric and since it mostly came from my stash, I couldn't just go out and get another 3/4 meter… I checked a few other pink fabrics in my bin, but didn't want to introduce a new shade or pattern since the quilt top is so busy already.
Ah hah! The leftovers from the pink Super Hero Cape is just the right shade of pink. Is there enough scrap left, I wondered?
http://carolasquilting.blogspot.ca/2015/02/super-hero-capes.html
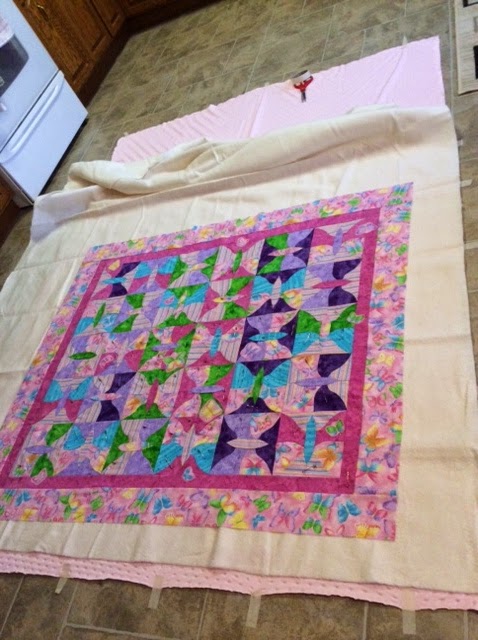 |
| Laying out the quilt layers to pin |
Well I got lucky for the second time that week! I cut 2 1/4" inch strips, sewed them together and they were perfect for the binding. With about 12 inches left at the end, I feel very fortunate. Maybe I should have gone out and bought a lottery ticket that day, too! :)
Happy Quilting!
posted by CarolaD @ 1:13 PM
0 Comments
![]()


0 Comments:
Post a Comment
Subscribe to Post Comments [Atom]
<< Home